
Tip & Trick
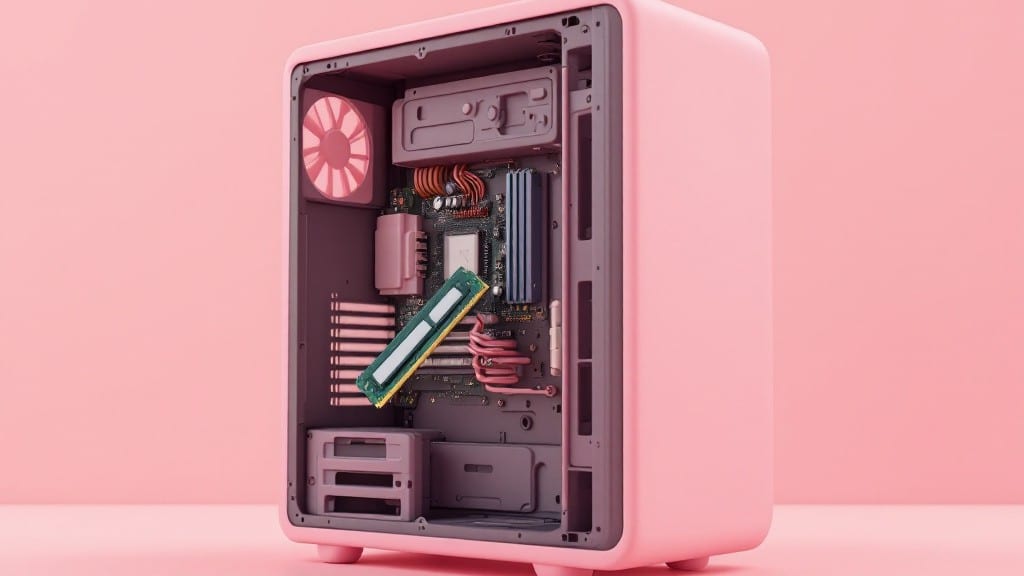
Installing RAM in a desktop PC is one of those tasks that looks intimidating until you see it done right. ⚡ I remember my first time—back in my uncle’s basement workshop in 1998—where Dad showed me how to handle those delicate little sticks without bending the pins.
The good news? You don’t need a degree in electronics to do this. With the right prep and a little patience, you’ll have your system humming with extra memory in no time.
Before you even touch the case, you’ll need a few things: the new RAM sticks (check your motherboard’s manual for compatibility), an anti-static wrist strap or by touching the case to ground yourself, and a Phillips-head screwdriver.
The most critical step is ensuring the RAM matches your motherboard’s specs—look for the same type (DDR4, DDR5) and capacity (8GB, 16GB). Pro tip: If you’re adding two sticks, use slots 2 and 4 for dual-channel performance, not 1 and 3.
That small detail can make a noticeable difference in benchmarks.
Once you’ve powered down and unplugged your PC, opening the case is the easy part—just remove the side panel. You’ll see the RAM slots, which look like long, narrow sockets with a clip on either end.
The new sticks will have a notch on one side; align that with the slot’s corresponding notch, then press down firmly until you hear a satisfying click. The clips will latch automatically—don’t force it, or you’ll risk damaging the pins.
Repeat for the second stick if you’re installing a pair.
After securing the RAM, boot up your system and check the BIOS (press the delete or F2 key during startup) to confirm the new memory is detected. If Windows boots normally, you’re golden—your OS should recognize the upgrade immediately.
If not, double-check the seating and consider a BIOS update from your motherboard’s manufacturer. And if you ever feel unsure, remember: every expert was once a beginner who asked the right questions.
📚 In This Guide
- What you need
- Instructions
- Tips and common mistakes
- Wrapping up and next steps
What you need
- ● RAM module(s): Match your motherboard’s type (DDR4, DDR5, etc.), capacity (e.g., 8GB, 16GB), and speed (MHz). Check your motherboard manual for compatibility.
- ○ Anti-static wrist strap (optional but highly recommended 💡—static electricity can fry components!)
- ● Phillips-head screwdriver (for securing RAM slots or case panels if needed).
- ● Isopropyl alcohol (90%+) and lint-free cloth (for cleaning contacts on RAM or slots).
- ● Motherboard manual (PDF or physical copy—critical for slot layout and specs!).
- ● Power off your PC and unplug the power cable to avoid electrical hazards.
- ● Work on a non-carpeted, anti-static surface (e.g., a wooden table or desk).
- ● Ground yourself by touching a metal part of your case before handling components.
- ● If your case has a removable side panel, take it off for easier access.
- ● Magnifying glass (for spotting dust or misaligned notches).
- ● Thermal paste (if you’re also upgrading your CPU cooler).
- ● Zip ties or cable organizers (to tidy up post-installation).
Step-by-step instructions for installing RAM in a desktop PC
Here's how I handle RAM installation—simple, safe, and foolproof for any beginner.
🔧 Step 1: Power Down and Prepare Your Workspace
Start by shutting down your PC completely and unplugging the power cable from the back. I always hold the power button for 5-10 seconds afterward to discharge any residual power in the motherboard—this prevents static shocks and protects sensitive components.
Find a clean, well-lit workspace. Place your desktop PC case on a stable surface, preferably one with a soft cloth underneath to protect the finish. Remove the side panel by unscrewing the 2-4 thumbscrews securing it. Touch the metal chassis before handling any components to ground yourself and avoid static buildup.
💻 Step 2: Locate and Align the RAM Slots
Open the case and identify the RAM slots on your motherboard. They look like long, narrow sockets with a clip on either end. The slots are usually labeled with numbers like DIMM1, DIMM2, or similar. If your motherboard has color-coded slots, match the RAM module's notches to the correct slot—this ensures proper alignment.
Lift the clips on both ends of the slot you're using. They should pop up slightly when pressed. The slot will have a small notch in the middle—this is where the RAM module's notch must align perfectly. If your motherboard has two slots, install the RAM in the first two slots (usually DIMM1 and DIMM2) for optimal performance.
⌨️ Step 3: Insert the RAM Module Correctly
Take your RAM module and align it with the slot. The notch on the RAM should match the notch in the slot—if it doesn’t, flip the RAM over and try again. Press down firmly but evenly on both ends of the module until you hear a click and feel the clips snap into place. This ensures a secure connection.
Don’t force the RAM—if it doesn’t go in smoothly, you’ve likely got it oriented wrong. The module should sit flush with the motherboard, and the clips should cover the edges completely. If you’re installing two modules, repeat this process for the second slot, ensuring both modules are identical in size and speed for best results.
💡 Step 4: Secure the Case and Power On
Once the RAM is securely seated, reattach the side panel of the case and screw it back into place. Plug the power cable back into the PC and turn it on. If the system boots normally, you’ve successfully installed the RAM. You’ll see the new memory capacity reflected in your system information—press Win + Pause/Break to check under "Installed memory."
If the PC doesn’t power on, double-check that the RAM is fully seated and the clips are locked. Reseat the module if needed. Some motherboards beep during POST (Power-On Self-Test) to indicate errors—consult your motherboard manual for specific error codes. If everything checks out, your RAM is ready to go!
Tips & tricks for perfect RAM installation
Installing RAM shouldn't feel like rocket science—it's actually one of the simplest hardware upgrades you can do. Here are my go-to tips to make sure you get it right the first time.
Grounding is Your Best Friend: I can't stress this enough—static electricity is the silent enemy of RAM installation. Before touching anything inside your case, ground yourself by touching the metal chassis. I've seen people skip this and end up with a module that doesn't seat properly because of static discharge. Also, work on a carpeted floor or use an anti-static wrist strap if you're really worried.
Notch Alignment is Non-Negotiable: In Step 3, when you're inserting the RAM module, pay close attention to that tiny notch on both the RAM and the slot. If they don't match perfectly, you're fighting an uphill battle. I've had to remove and reinsert modules three times before because I rushed this step. Take your time—this is where most installation problems start. The notch ensures the module goes in the right orientation and makes contact with all the necessary pins.
Listen for That Satisfying Click: You should hear a clear, audible click when the RAM clips snap into place in Step 3. This isn't just for show—it confirms the module is fully seated and making proper contact with the motherboard. If you don't hear it, gently press down on both ends until you do. No clicking? That's your cue to check the alignment and try again. Between us, I've had to reseat modules more times than I care to admit because I ignored this simple audio cue.
Motherboard Manual is Your New Best Friend: Before you even start, grab your motherboard manual and look up the exact RAM specifications for your model. Not all RAM is created equal—some motherboards have specific requirements about speed, voltage, and even the number of modules. I once installed RAM that looked identical to what my system supported, but it didn't work because of a tiny voltage difference. The manual will tell you which slots to use for dual-channel configuration (usually DIMM1 and DIMM3 or DIMM2 and DIMM4), which can give you a nice performance boost.
Pro Tips for Install Ram In A Desktop Pc
- Installing RAM shouldn't feel like rocket science—it's actually one of the simplest hardware upgrades you can do.
- Grounding is Your Best Friend: I can't stress this enough—static electricity is the silent enemy of RAM installation.
- Notch Alignment is Non-Negotiable: In Step 3, when you're inserting the RAM module, pay close attention to that tiny notch on both the RAM and the slot.
Frequently asked questions
Got questions about upgrading your RAM? You’re not alone! Here are answers to the most common concerns to help you feel confident before diving in.
Do I need to turn off my PC to install RAM?
Always power off your PC and unplug it from the wall before opening the case. Static electricity or accidental power surges can fry your RAM or motherboard. Safety first—no shortcuts here!
Can I mix RAM kits with different speeds or brands?
Technically, yes, but it’s not recommended. Your PC will default to the slowest RAM speed or may not boot at all. For best performance, use identical kits (same brand, speed, and capacity). Check your motherboard manual for supported configurations.
How do I know if my RAM slots are compatible?
Most modern motherboards support dual-channel mode for better performance. Pair RAM sticks in slots of the same color (e.g., slots 1 & 3 or 2 & 4). Refer to your motherboard manual for slot labeling—it’s usually color-coded or marked with "A1," "A2," etc.
What if my PC won’t turn on after installing RAM?
First, double-check that the RAM is seated properly—press firmly until the clips click. If it still doesn’t boot, try removing all but one stick and test it in a different slot. If it works, the issue might be a faulty stick or incompatible RAM. Reset the CMOS (clear CMOS) if needed.
Is it worth upgrading RAM if I only play casual games?
It depends! If your system struggles with multiple tabs, light gaming, or background apps, upgrading RAM (e.g., from 8GB to 16GB) can boost speed and multitasking. For heavy gaming or editing, prioritize a faster CPU or GPU first. Run a free system check to diagnose bottlenecks.
Wrapping up and next steps
Installing RAM in your desktop PC is easier than you think—just follow the right steps, stay patient, and you’ve got this! 💪 Whether you’re upgrading for better performance or fixing a slow system, adding memory is a rewarding DIY project that boosts your PC’s speed.
Now that you’re armed with the know-how, the next logical step? Test your new RAM by running a benchmark tool or diving into your favorite games/apps to see the difference! 🎮✨